
Keep Health, Photos, and Messages When Moving to a Refurbished iPhone

Use Quick Start to migrate directly when you have both phones side by side; otherwise restore from an iCloud or encrypted computer backup. Either way, update iOS on both devices, charge them past 50%, and back up the old iPhone before you touch a single setting. Skip that prep and you’re the person restarting a transfer at 11 p.m.
TL;DR:
- Transferring large photo and video libraries via wireless Quick Start can take a long time, making a wired connection the faster option.
- Updating iOS on both devices and ensuring enough free storage on the new phone prevent transfer failures and stalls.
- Using a computer backup with encryption is the only way to transfer Health and Activity data successfully to the new iPhone.
- Moving the phone number involves switching SIM cards or activating eSIMs correctly; troubleshooting may require restarting or carrier app checks.
- Verifying successful transfer requires checking contacts, photos, app data, and health info before erasing the old device.
Table of Contents
- Checklist: Prepare Both Phones Before You Transfer
- Which Transfer Method Should You Use?
- Moving Your Phone Number to the Refurbished iPhone
- Fixing a Transfer That Stalls or Fails
- How to Confirm Everything Made It Over
- What “Verified Refurbished” Should Actually Mean
- An Editorial Take on Buying Refurbished
- Where to Buy a Verified Refurbished iPhone
- Sources
Checklist: Prepare Both Phones Before You Transfer
Rushing this step is the number one reason transfers stall halfway through. Run through this list before you bring the refurbished iPhone anywhere near your old one.
- Plug both phones into power. A transfer that dies because a battery hit 15% is entirely avoidable.
- Update iOS on both devices first. Mismatched software versions cause more failed transfers than almost anything else.
- Back up your old iPhone to iCloud, or connect it to a Mac or PC and create an encrypted local backup — encryption is the only way Health and Activity data survives the move.
- Check that the refurbished iPhone has enough free storage for what you’re moving. A graded device with 64GB won’t swallow a 90GB photo library without some cleanup first.
- Confirm your Apple ID password and two-factor login method are ready, and make sure Wi-Fi and Bluetooth are switched on for both phones.
Pro Tip: If your old iPhone is on iOS 15 or earlier, update it before you start the backup. Older backups sometimes fail to restore cleanly onto a phone running a newer iOS version.
Which Transfer Method Should You Use?
Three routes get your data onto a refurbished iPhone, and which one fits depends on whether you still have your old phone in hand.
- Quick Start, wireless. Power on the refurbished iPhone and set it near your old one. An animation appears on the old phone’s screen. Hold the new iPhone’s camera over it, enter your old phone’s passcode, then choose Transfer from [Device] and keep both phones plugged in and close together until it finishes. Apple’s Quick Start feature handles this migration directly, phone to phone, with no computer involved.
- Quick Start, wired. Same process, but connect the two phones with a cable instead of relying on Wi-Fi. This is the better choice when your wireless network is spotty or you’re moving a large photo library. Cable speed matters here. Newer Pro models support USB 3, which transfers data dramatically faster than USB 2, so use the fastest cable your phones support if you have one.
- iCloud restore. No old phone in hand? Back up to iCloud beforehand, then during setup on the refurbished iPhone choose Restore from iCloud Backup. Apple’s free tier only gives you 5GB, so anything bigger needs a paid storage bump or a computer backup instead.
- Computer restore. Connect the old iPhone to a Mac using Finder or a PC using iTunes, create a backup, and check the encryption box. Then restore that backup to the refurbished iPhone during setup. This is the only backup method that carries Health and Activity data over.
A wireless Quick Start transfer with a modest photo library usually finishes in a reasonable amount of time. Add a few hundred gigabytes of video and photos, and wireless transfers can crawl. That’s exactly when switching to a wired connection saves real time.
Moving Your Phone Number to the Refurbished iPhone
Getting your number active on the new device is separate from moving your data, and it trips people up more than it should.
- Physical SIM: power down both phones, eject the tray from the old iPhone with a SIM tool or paperclip, and slot the card into the refurbished iPhone. If you’re switching between a dual-SIM setup, confirm which slot the carrier expects.
- eSIM: setup will prompt you to transfer or activate the eSIM through your carrier. Follow those on-screen steps in order and don’t skip ahead.
- If service doesn’t come back: restart the phone, open your carrier’s app to confirm the line is active, or check Settings → Cellular. If none of that works, call your carrier. Something has to trigger the line to attach to the new device’s IMEI.
Fixing a Transfer That Stalls or Fails
Most stuck transfers trace back to one of five causes, and they’re worth checking in order rather than restarting blindly.
- Outdated iOS on either phone. Update both, restart them, and retry. A mismatched version is the most common culprit.
- Weak Wi-Fi. If a wireless transfer is crawling or has frozen, switch to a wired connection with the correct cable. It’s often faster anyway, particularly on phones that support USB 3 speeds.
- Wallet and Face ID hangups. These two steps cause a disproportionate number of stuck transfers. Choose “Set Up Later” for both during migration, let the rest of the data move, then configure Wallet and Face ID afterward. Users troubleshooting this exact problem have found that skipping these steps unblocks the transfer almost every time.
- Not enough storage on the refurbished iPhone. Delete unused apps or offload large video files on the old device before you start again.
- A device that’s already been set up. If you tapped through setup before deciding to do a full data transfer, erase it first (Settings → General → Reset → Erase All Content and Settings) and start over from the beginning.
Pro Tip: If a transfer fails twice in a row on the same step, update the refurbished iPhone to the newest iOS independently before pairing again. Compatibility bugs between mismatched builds are a quieter cause of repeat failures than people expect.
How to Confirm Everything Made It Over
Don’t assume a completed progress bar means a clean transfer. Spend five minutes checking before you wipe the old phone.
- Open Contacts, Photos, and Messages and confirm recent entries are there, not just older ones.
- Check that app data carried over, then re-sign into anything that requires fresh authentication, banking apps, email, and messaging services almost always ask for this.
- If you used an encrypted backup, confirm Health data and Wallet cards are present; unencrypted backups leave both behind.
- Once everything checks out, remove the old iPhone from your Apple ID under Settings → [Your Name], then erase it fully before selling, trading in, or recycling it. Our guide to wiping a phone before selling walks through that reset step by step.
What “Verified Refurbished” Should Actually Mean
Not every refurbished iPhone comes with the same guarantees, and that gap matters more once you’ve just spent an evening migrating your data onto one.
- Look for a documented multi-point inspection, not a vague “tested” label. Devicegiant’s TrueGrade process checks each device against a 25-point functional checklist before it ships.
- Cosmetic grading should be disclosed upfront, not discovered when the box arrives. Clear A-to-D grading tells you exactly what wear to expect.
- A real return window (30 days minimum, ideally longer) and a visible feedback history are the two fastest ways to judge a seller’s reliability.
- If you want a closer look at what inspection actually covers before buying, our guide to the TrueGrade checkup process breaks down what gets tested and what grading terms mean.
An Editorial Take on Buying Refurbished
Refurbished only makes sense when the inspection behind it is real. A verified device saves money and keeps a working phone out of a landfill, but that only holds up if someone actually checked the battery and screen before it shipped. My one piece of advice: the moment setup finishes, check your return window and battery health percentage. That’s your real warranty, not the marketing copy.
— Saad
Where to Buy a Verified Refurbished iPhone
Once your data is safely on the new phone, the harder question is picking a refurbished iPhone you can trust in the first place. Devicegiant runs every device through a 25-point TrueGrade inspection before it’s listed, prices most models at up to 70% less than buying new, and backs every sale with a 90-day return window, longer than most retailers offer on refurbished hardware.
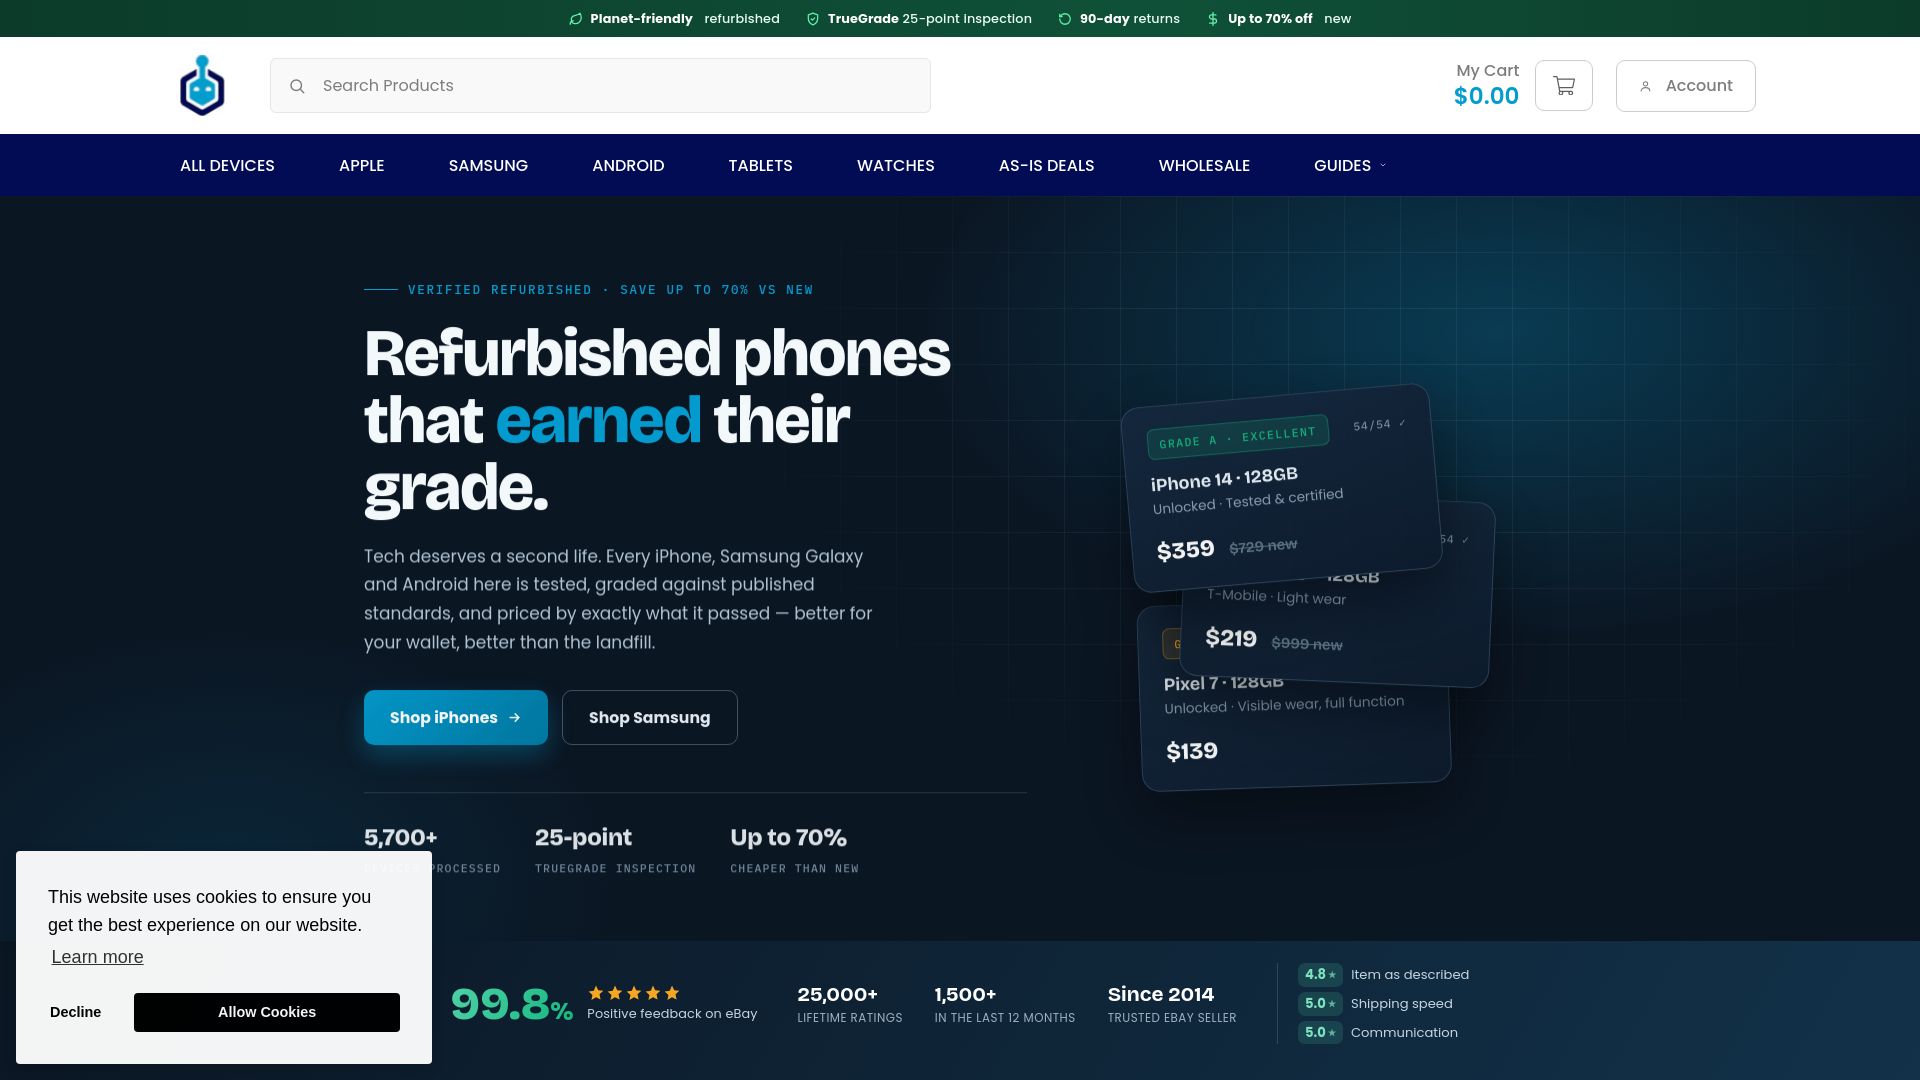
That combination is why Devicegiant has built a 99.8% positive feedback rating on eBay: buyers get a phone that’s been checked, not just wiped and reboxed. If you’re ready to move on from your current device, browse the current lineup of refurbished phones up to 70% off and check the grading and return details listed on each model before you check out.
Sources
- Back up and restore your iPhone or iPad - Apple Support
- Apple Community — Data transfer issues (thread)


